
End Table


I have some pictures and some words about building a simple end table. Before I get to that I'm going to tell the story of why I made this thing. If you'd like to skip it just scroll down and look for the red text.
I work in an office. We have a typical setup. There's a receptionist/operator that takes all the calls and directs them. She sends and received all the miscellaneous UPS items. She does most of the work around here.
Next to her desk, she had a small end table that she used for the UPS related stuff. She had this to keep her actual desk clean. A few weeks ago she went out for surgery and was gone for a couple weeks of recovery. While she was gone, our warehouse manager took her table. None of us really noticed it had moved until she came back.
I overheard her talking about it to one of the other employees one day. The warehouse manager has a reputation for being a grumpy old man. Because of this, a lot of the employees here are afraid to talk to / bother him. I'm not that kind of fellow. So as I'm sitting here listening to her talk about this missing table (apparently she had one before this one, and it too was taken by another employee) I was becoming increasingly annoyed with the situation. So I got up and I was just going to go down there and throw this guys shit off onto the ground and take the table back. Make a whole big scene with it. Because "F" that guy and his grumpy demeanor. He can buy his own damned table.
I get down there to his office and he's not in there. Apparently he had already went home for the day. I'm no coward, so I'm not going to do this thing while he's not there. I want him to be present, I want him to get mad about it, and I want him to see that that doesn't affect me one bit.
As I turned and left his office our receptionist had caught up to me to tell me I didn't have to take her table back, she could buy a new one.
"Bull shit Mary, that's your table, and when Bob gets here tomorrow morning I'm going to look him in the eye and take it from him. And he's going to accept this, because he doesn't have a choice in the matter"
"Brian out in the yard said that he could nail together some LVL and make me a replacement table. I don't want you to get in trouble with Bob"
"I don't give a shit about Bob getting angry, Mary. Bob can get over it. Taking your table from you while you're out is cowardly and you don't need to put up with it. So if you want to keep the piece I can make you a table a whole heck of a lot nicer than nailing together some LVL. Or I'd much prefer to take this one back from Bob while he's here."
She opted to have me make her one.
RED TEXT! (double whammy)
I started at work. I had some time between buildings so I roughed out what I wanted to do in sketch-up.
End Table PDF
When I got into the shop I started looking around for what I had on hand to make it from, I came up with some pine two 1 x 8's, And the original plan was to just use a nice plywood for the top and shelf.
One of the first things to do was take a look at the plans I had come up with and cut all my parts out.
In my plans I drew it out with mortise and tenons in mind for all the joinery. Laziness and time constraints changed my mind for me, and I ended up putting it together with pocket screws instead. I mention this just to let you know to cut your parts longer if you intend on going the mortise and tenon route. Although if you're going to make this simple table with m&t joints... you probably know enough to not need my reminder.
Something I wanted was 1-1/2" square legs which is simple enough by gluing up 2 pieces of the 1-by material to make up the thickness I needed. I cut these longer than I needed so that I could trim them straight when the glue-up was dry. This seemed a lot easier than trying to line up too many edges as I clamped things up. When the legs came out of the clamps, I used a scraper to get rid of the squeeze-out before running them over the joiner and through the planer just so square them back up. They ended up 1-3/8" square, after milling. That seemed fine to me.
While the legs where in the clamps I took to the top. I found that I didn't have anything that had the thickness, and the nice-ness that I was looking for. The nice plywood that I had was only 1/2" thick. So I thought of laminating 2 sheets together to make a piece 1" thick. but that's kind of a pain so I kept thinking. Then I remembered that bit about "Brian is supposed to nail together some LVL" (For those of you that skipped the story section... this was mentioned there.)
So I happened to have quite a bit of LVL cut-offs from work. I've been meaning to build myself an entertainment center/tv stand with some LVL laminated together but I wasn't sure how it would come out. This seemed like a good test project, that kills two birds with one stone. Test out the method/look of LVL laminated, and throw sand in the eye of good ol' Brian and his "nail together some LVL" plan.
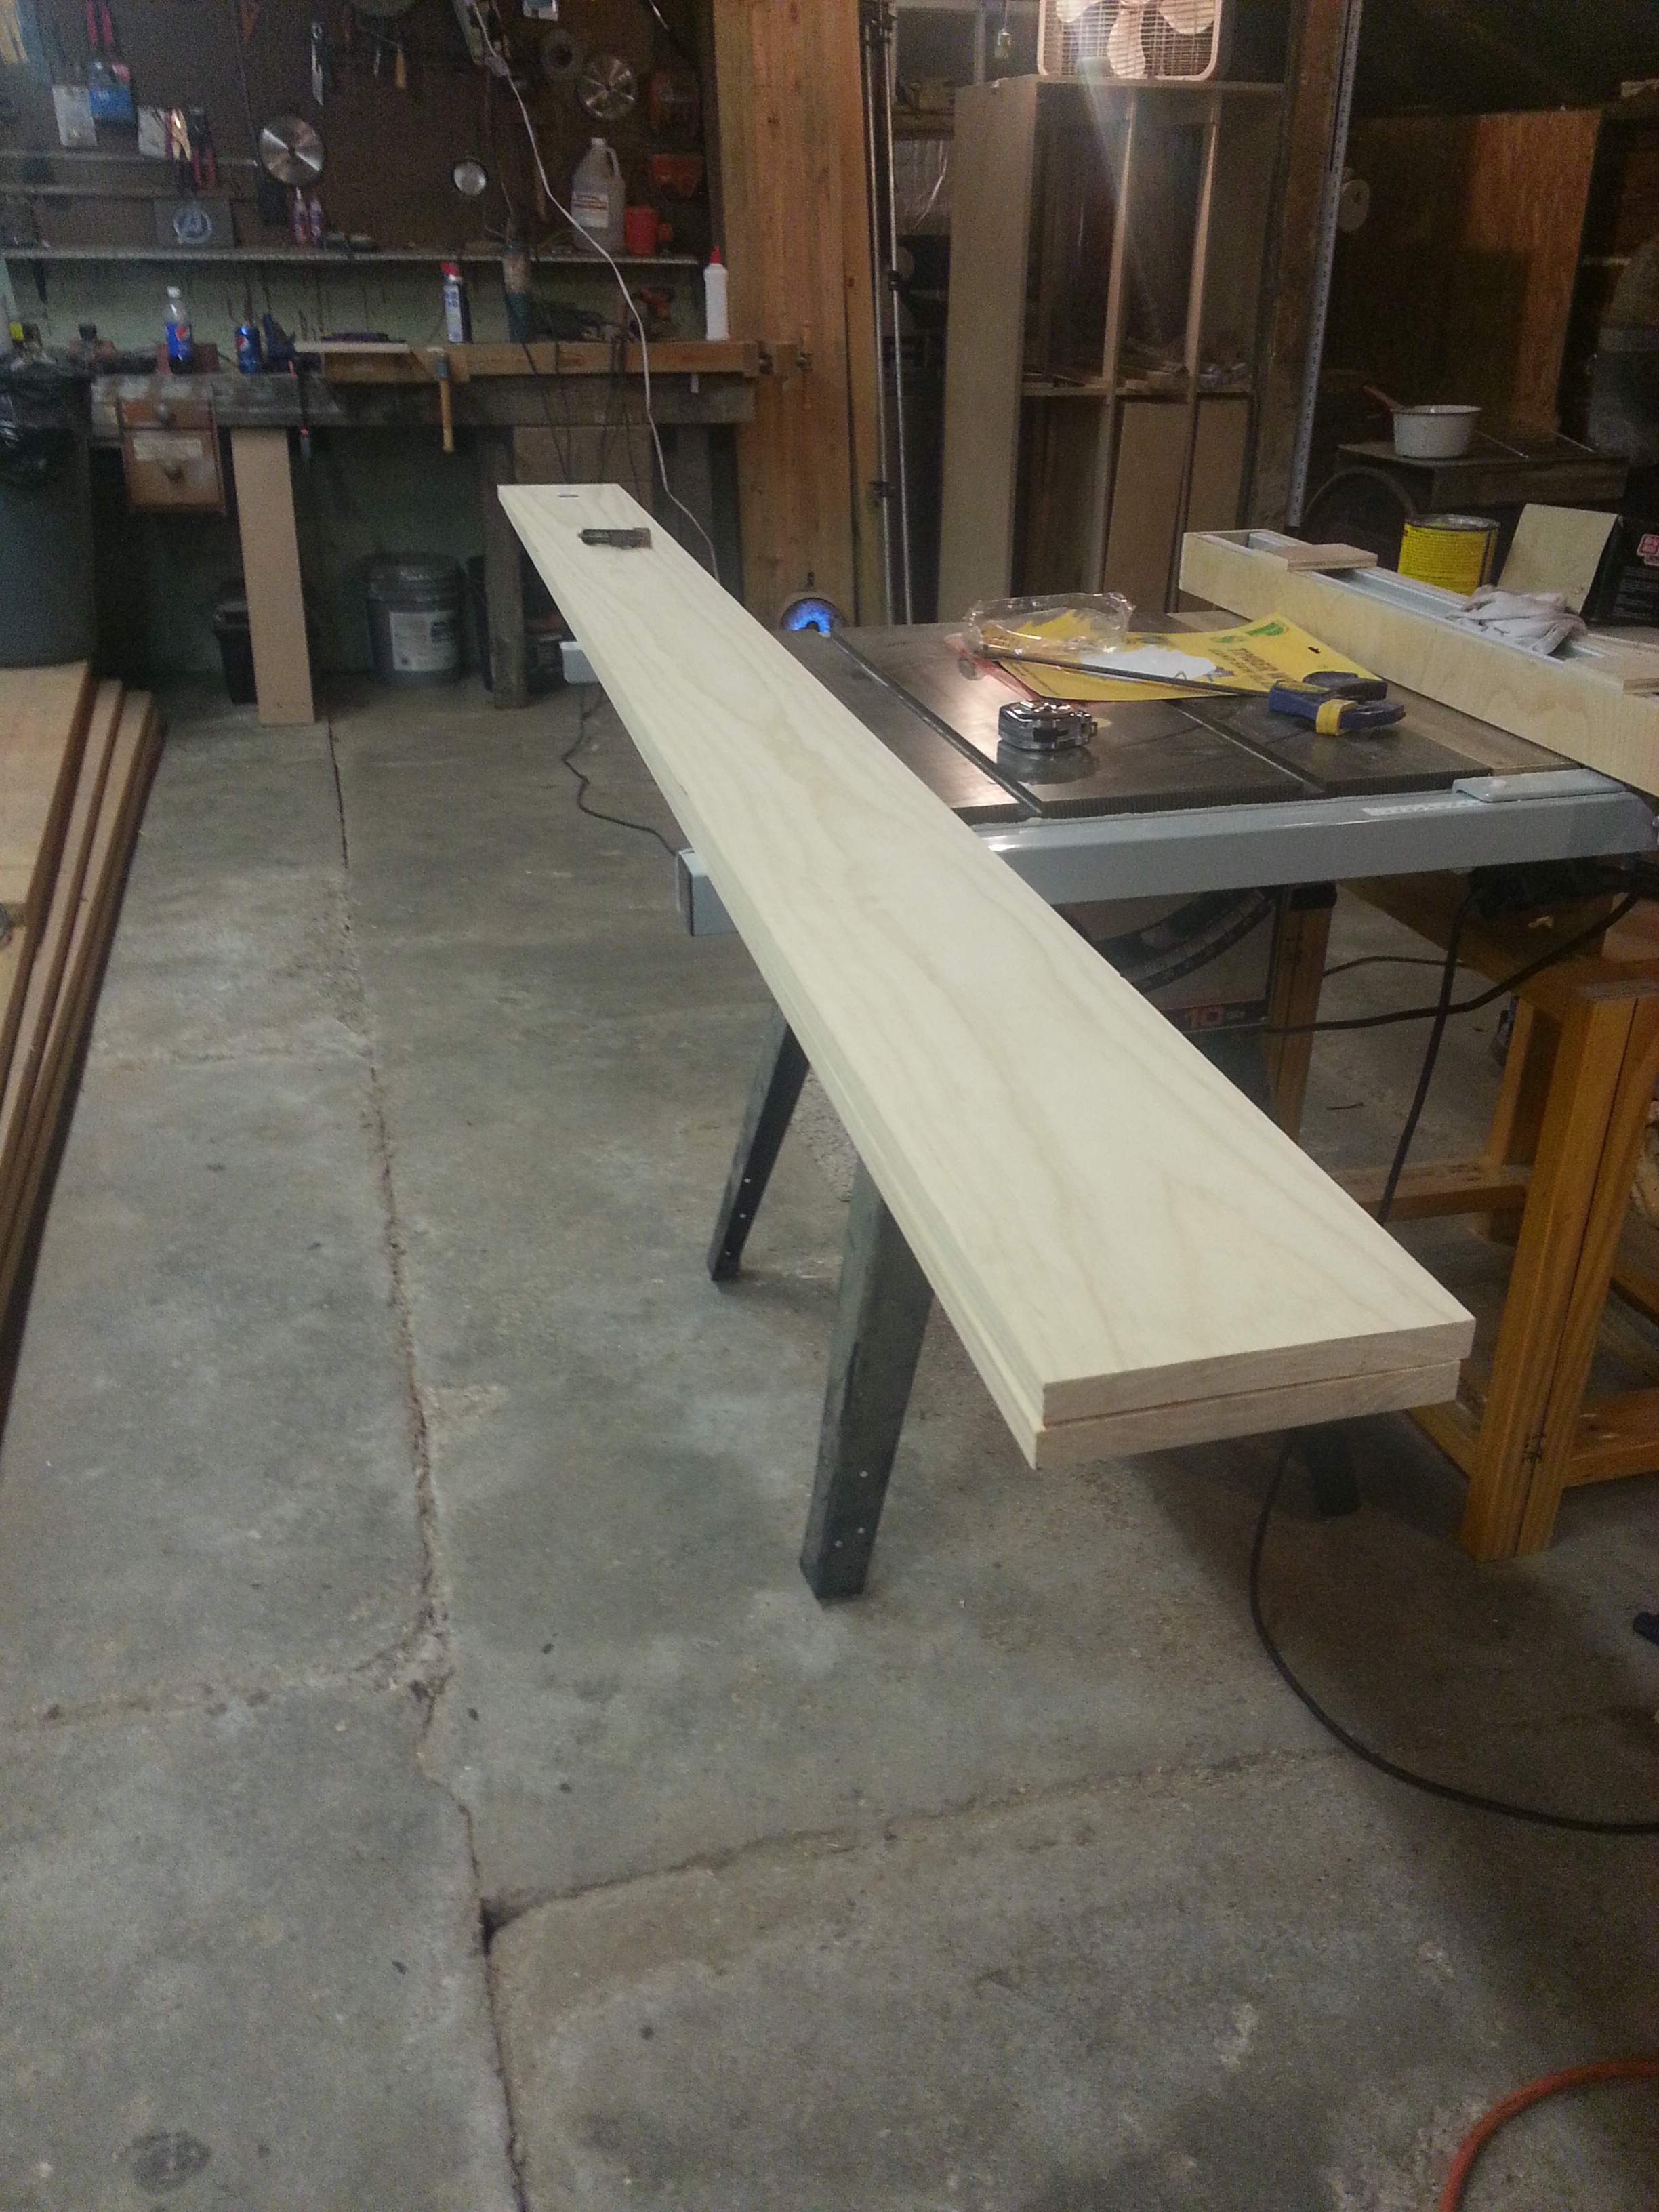
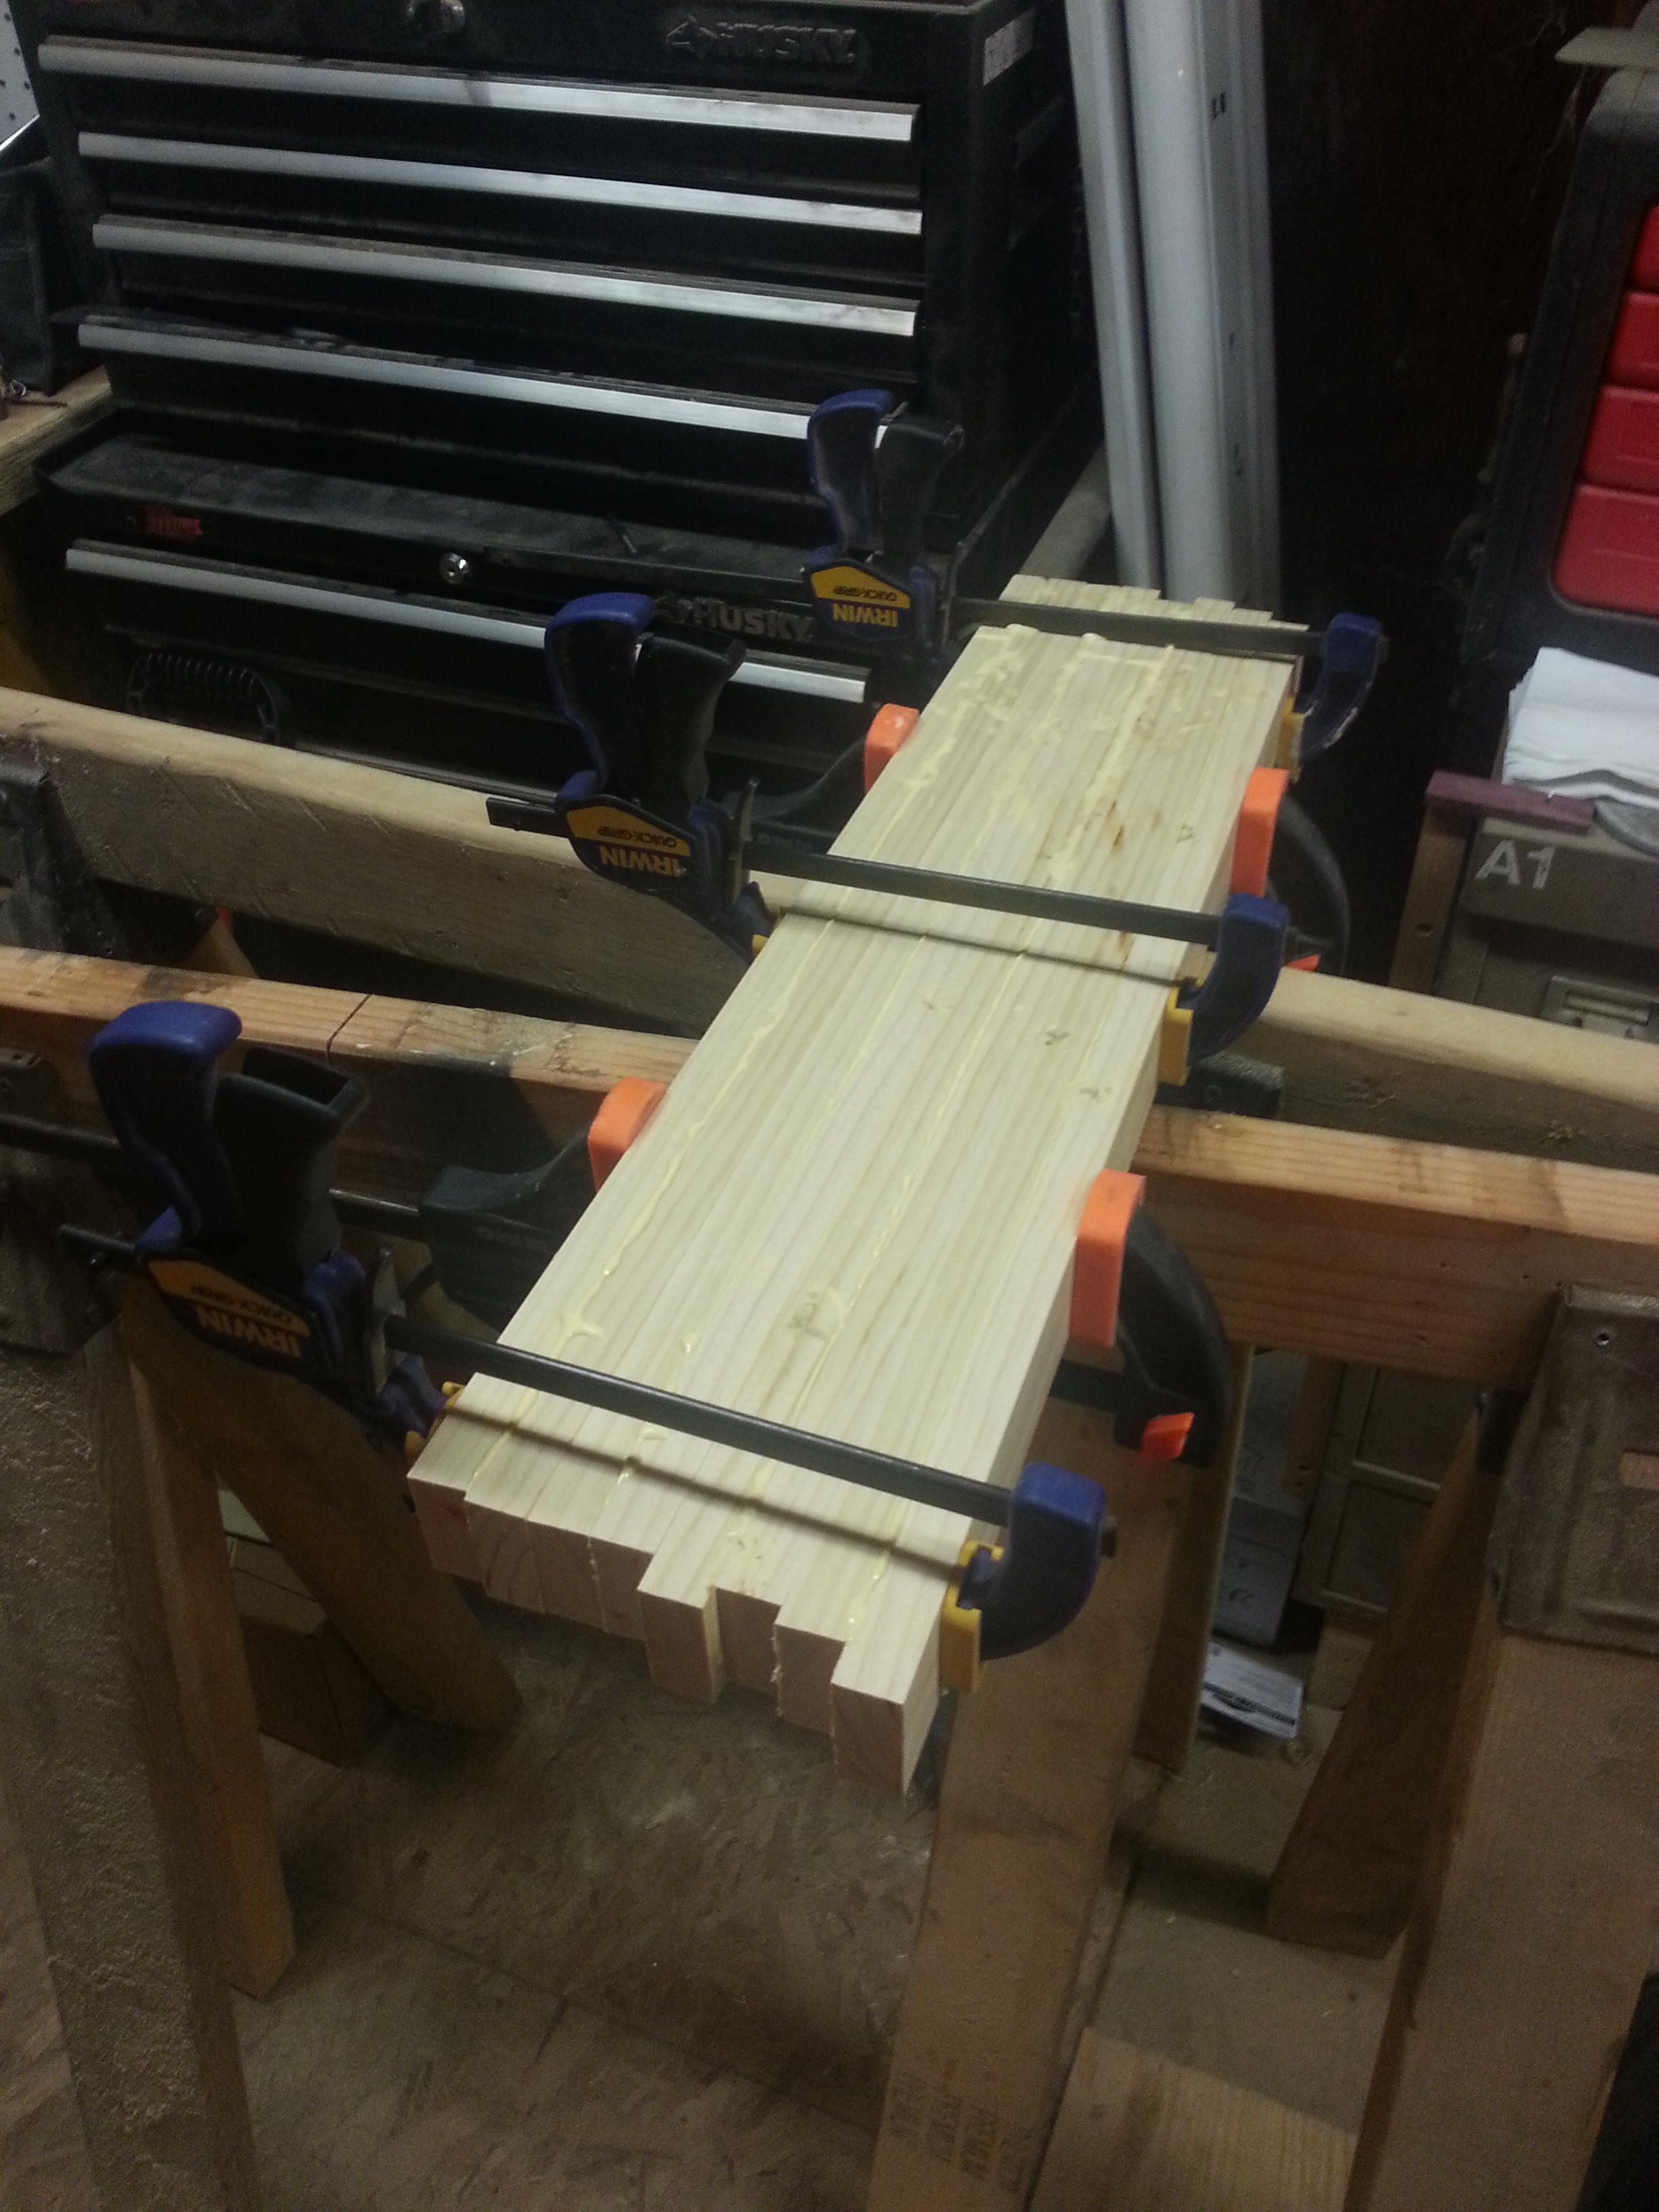
The LVLs that I have were 1-1/2" thick by 3-1/2" wide, 6-ft long. So I ran them through the table-saw, and made myself some 1-1/2" by 1-1/2" thick boards. I then cut them roughly in half. The LVL that my day job stocks/sells has a wax coating on it, and I wasn't too sure that the glue would stick to that too well. For this reason I ran them all through the planer with a very light pass, just to remove this wax. I could have used a sander for this, but the planer seemed faster and easier. When this was done, I spread some glue and glued most of them together. I left off two of the pieces because I wanted the panel to be narrow enough that I could pass it through the planer to fix any unevenness that might have crept up during gluing. It's a lot easier for my to fix two pieces by hand than the whole panel.
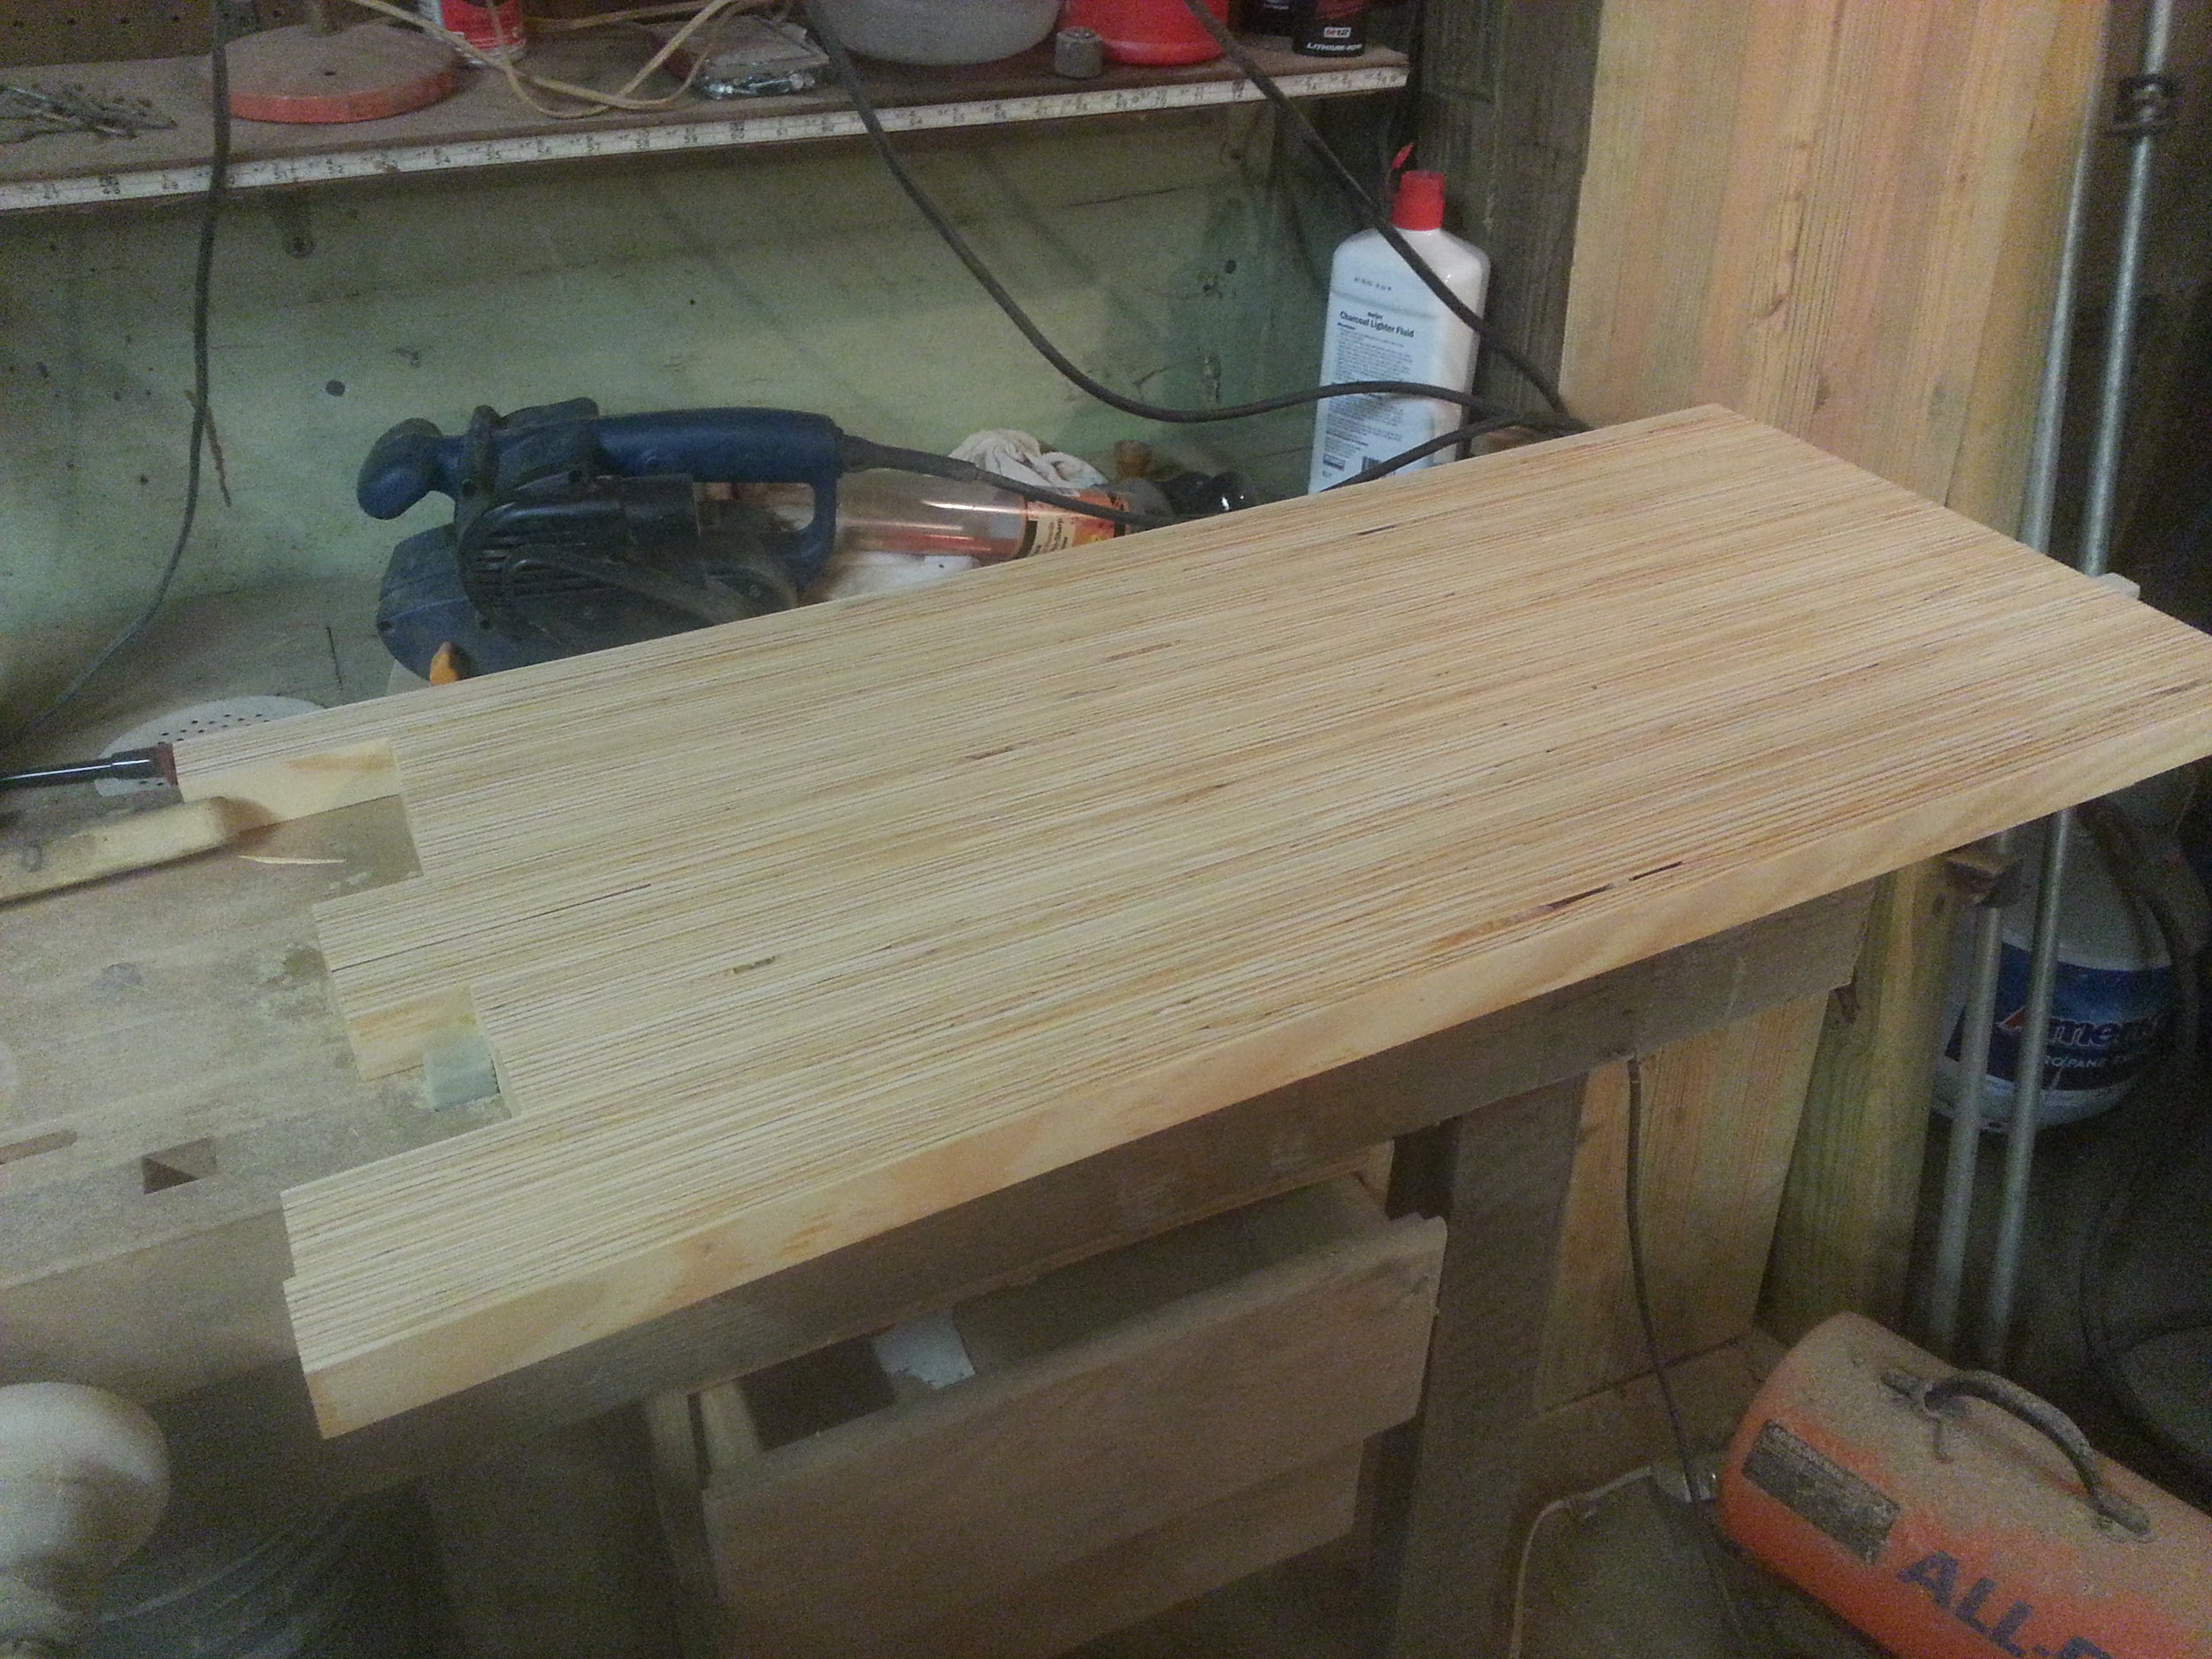
After that I used a doweling jig, and inserted some 3/8" dowels. I knew these pieces would be the outside two, and they would be sticking passed the support framework underneath. With where it was going to sit in the office I could imagine that folks are going to sit or lean against it to talk to Mary. So I didn't want to rely just on that glue joint. Followed this by trimming the panel to its final dimensions and then some sanding, with 80 then 150 grit. I was going for a matte finish in the end, so sanding passed 150 wasn't necessary.
This is about the time I took the legs out of the clamps and milled them up like I stated above. I took each of the pieces I had left over to the workbench and chamfered all the edges with a block-plane. I've been using this chamfer trick more and more since I learned to put I good edge on my plane irons. It makes for a nice simple detail and also breaks the corners so there is no splinters and cuts later on.
I took all the parts over to my pocket hole jig and added in the holes for those at each of the joints. Then I pre-sanded and started assembly.
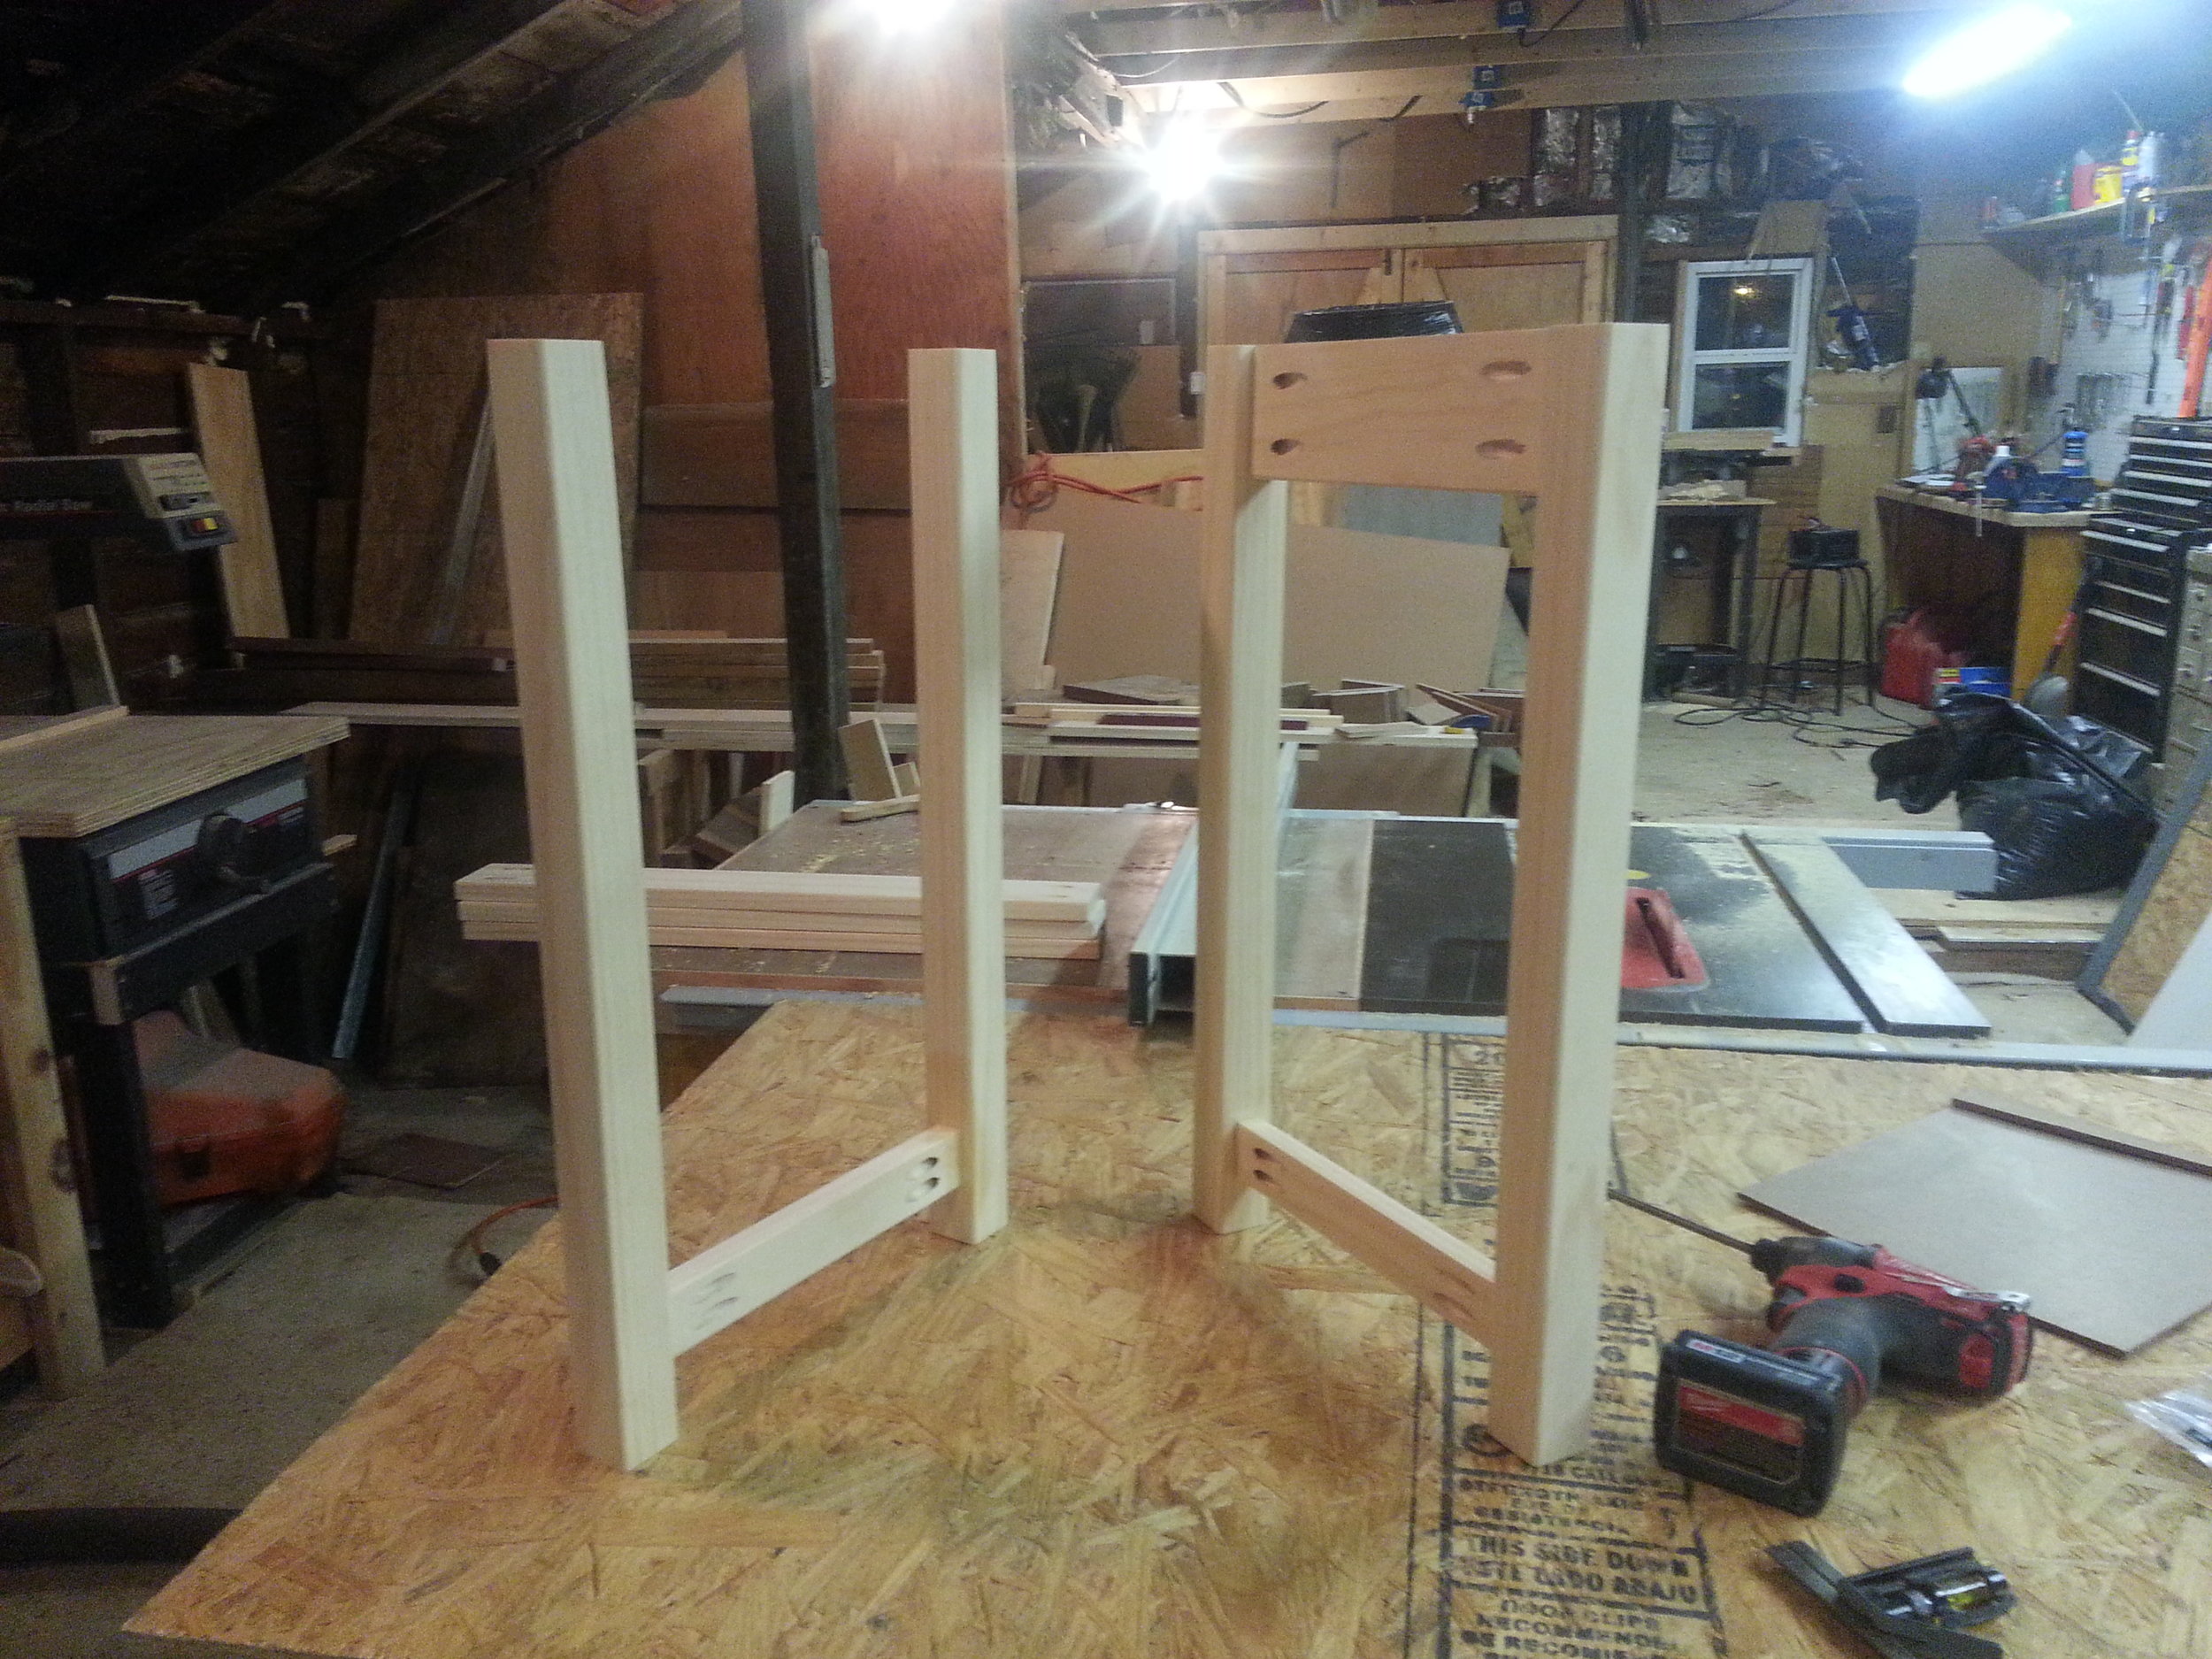
My method for assembly was to make sub-assemblies.
First the front leg to the front bottom rail. (No top rail due to the drawer.) Then the back legs and the back rails.
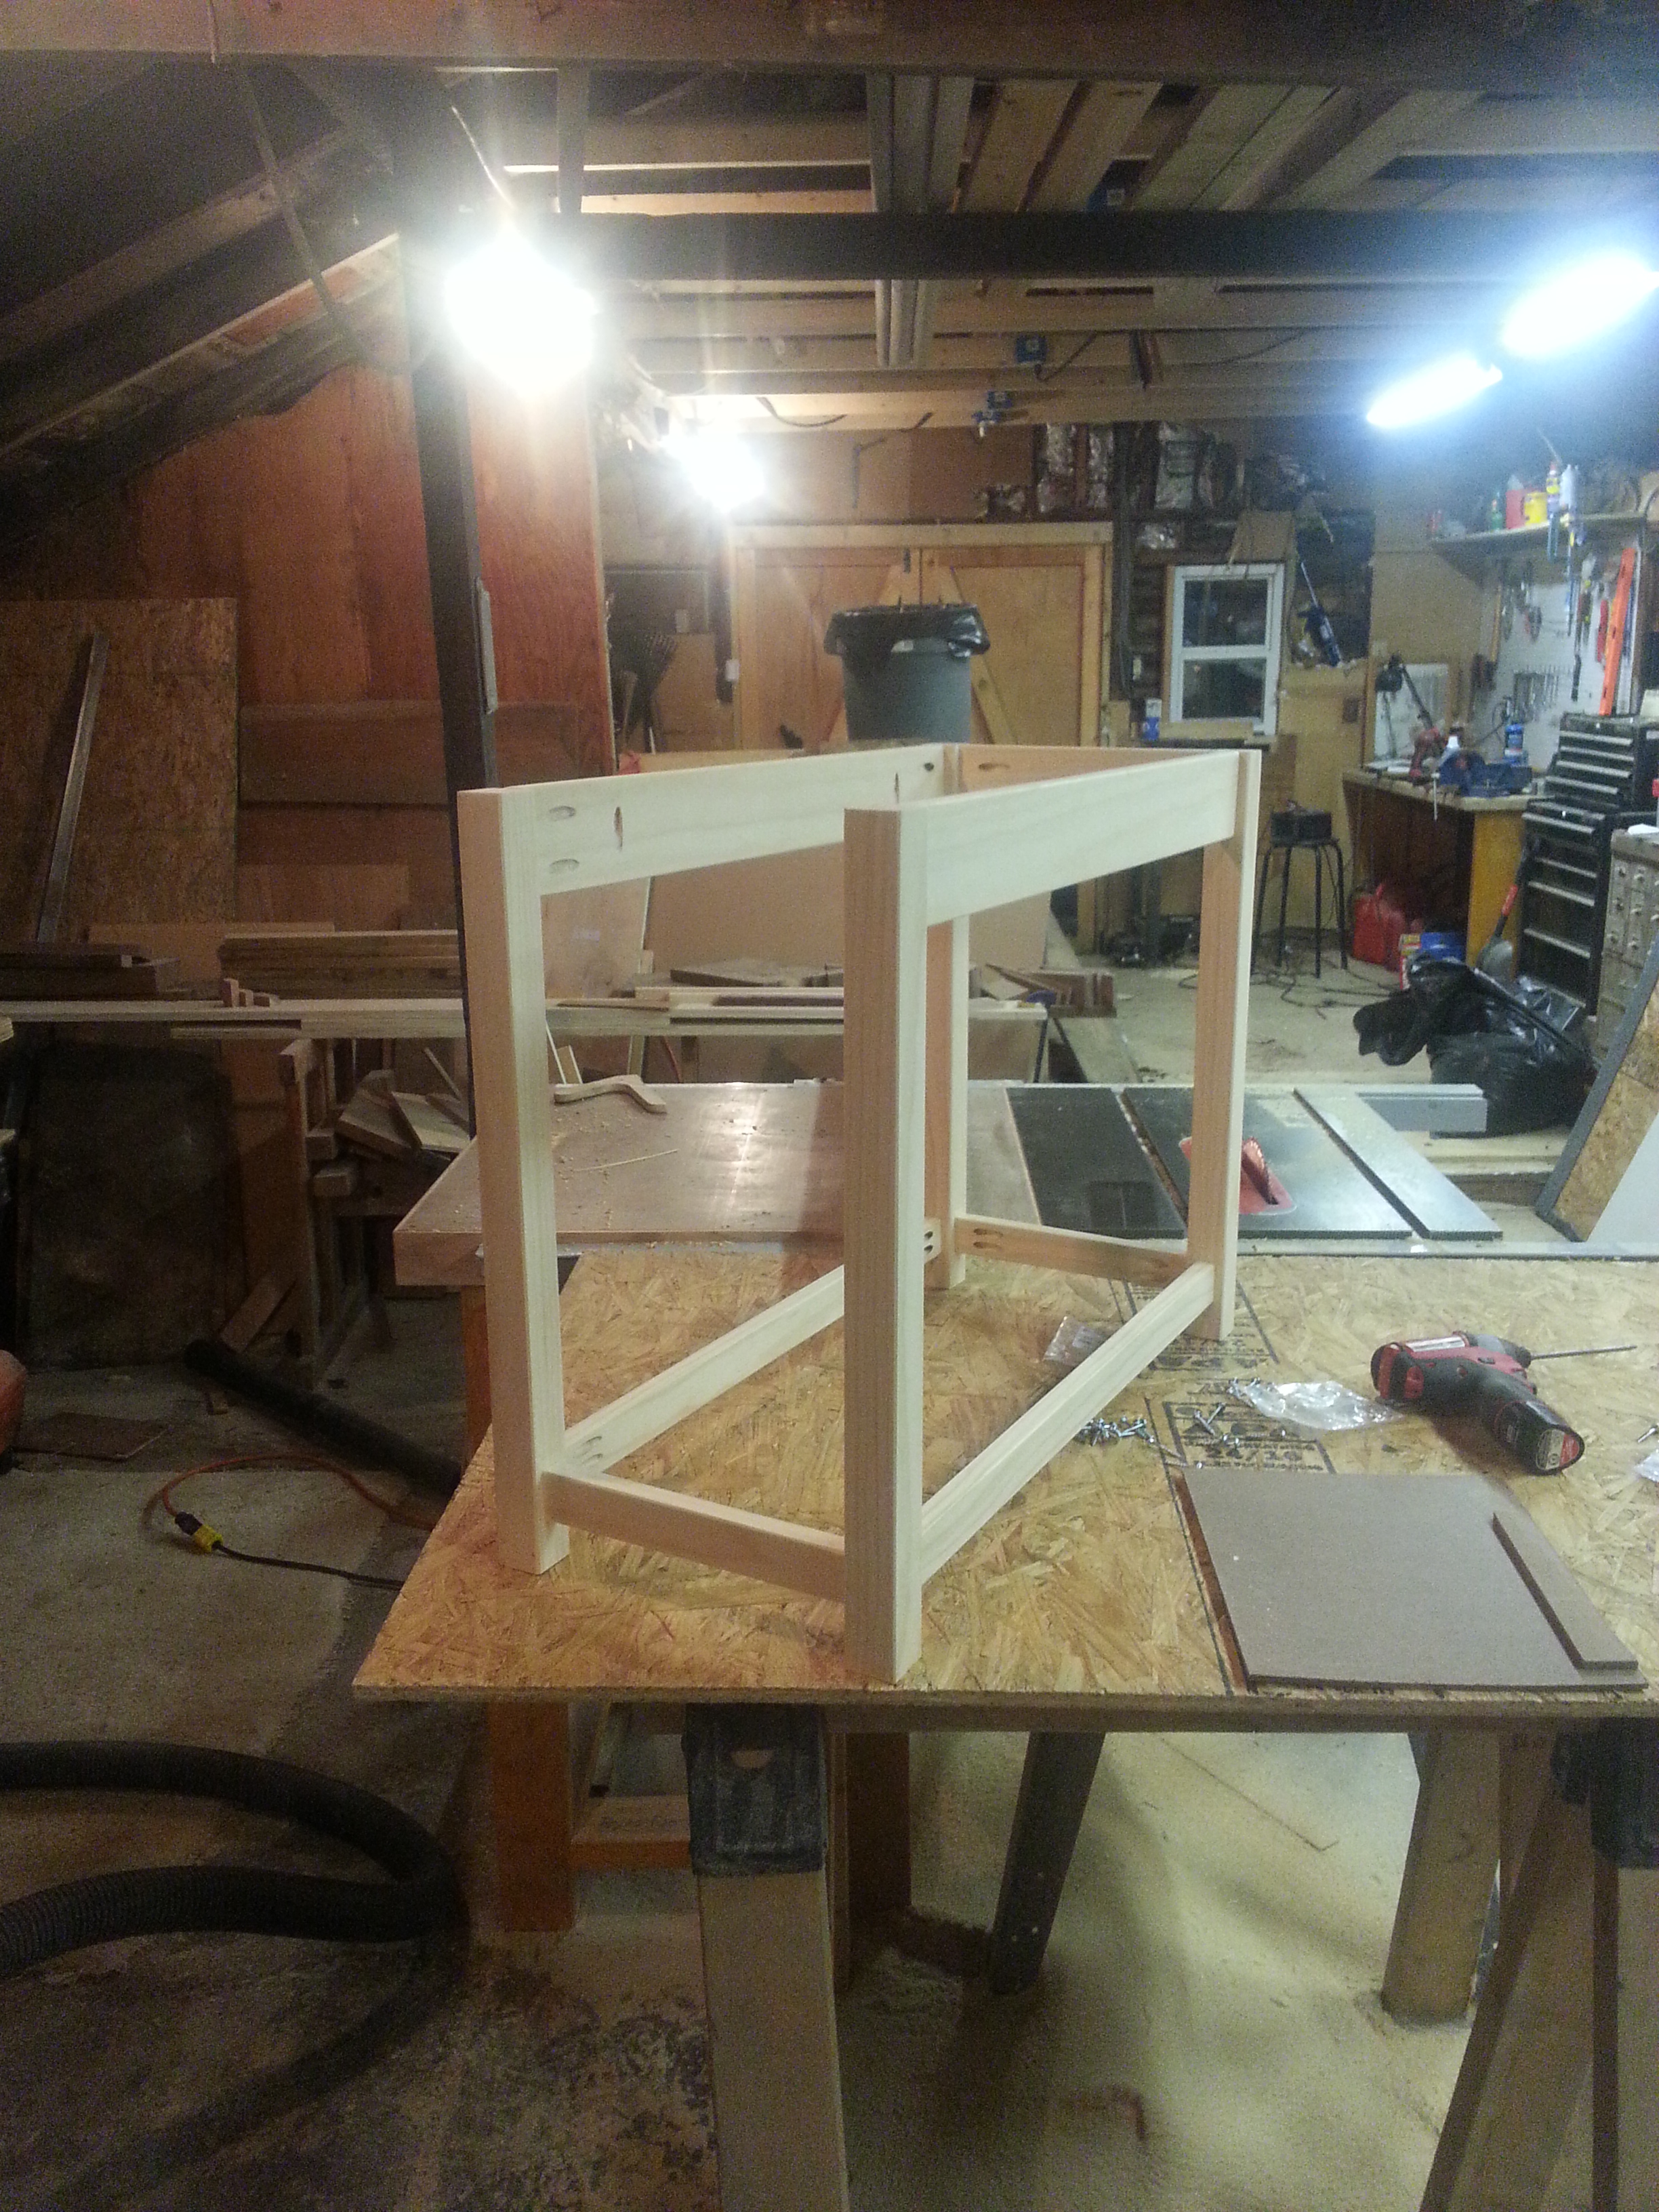
Next thing to do is join the front to the back via the side rails.
After this was done I could take precise measurements for the shape of the bottom shelf. I knew that i wanted it to overhang the rails, but be just short of flush with the face of the legs. So it would be hard to come up with this number before having the frame assembled. With those dimensions I cut the shelf to size. In each corner, the leg comes into the shelf a bit, so the shelf needs its corners cut out to allow for those legs. I started to measure for this when I had a better idea. I placed the shelf on the bench and just set the frame on top, lined it all up good and traced the feet down to the plywood. This worked great, and I had a tight fit when it was done.
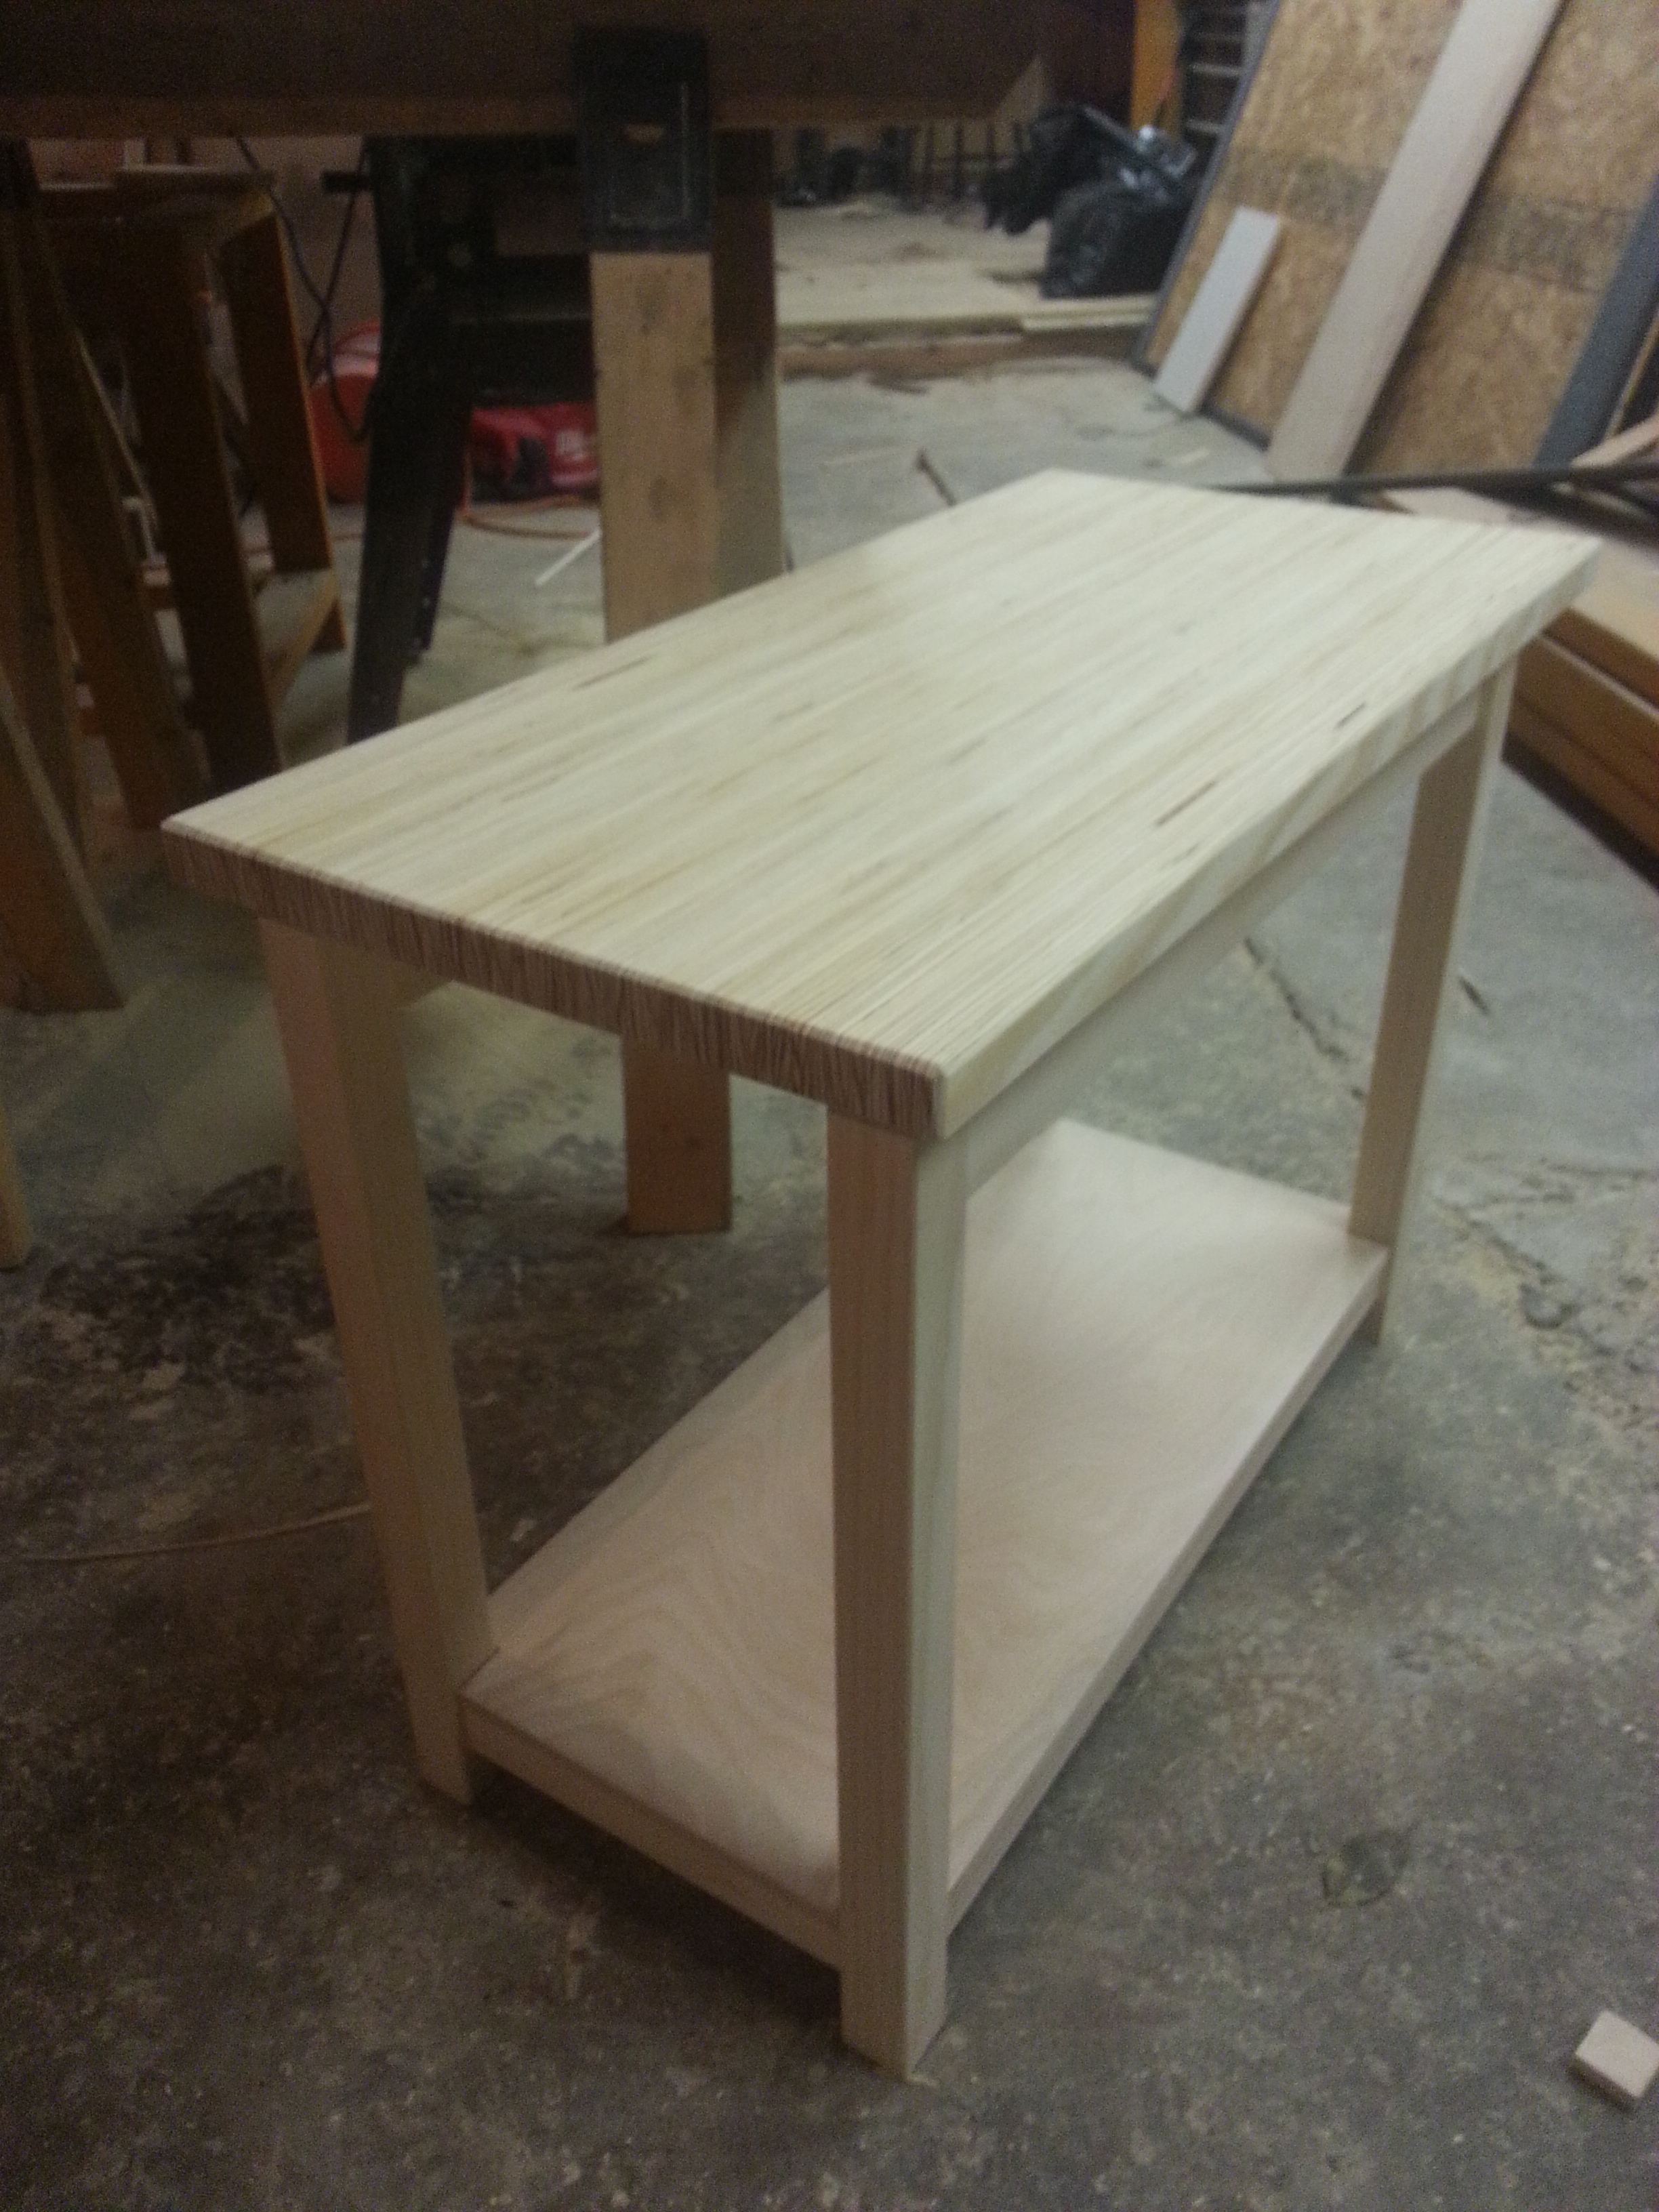
The plywood had its rough plywood edge grain showing, which isn't all that attractive. I happened to have some birch iron-on edge banding from a previous project so it was quick work to heat up the iron and press some of that on.
I can tell anyone that's been thinking of trying that edge banding for the first time (I'm new to the process) it's about 1000 times easier than you think it is. with that on, it was time to get the shelf in position. I screwed it on from the under side.
You can see in the previous picture I had pre-drilled the side rails for pocket holes into the top. As the top is made from LVL I assumed the top wont expand and contract with moisture.... so I didn't account for it. time will tell me if that's a good or bad idea. So I turned the top bottom side up on the bench, centered the frame, and added in my screws.
Last thing to do for this was build and add the drawer. Unfortunately I didn't take any pictures of this process. I used some more of the 1/2" plywood for the shelf. I didn't want it changing size on me later and making a sticky drawer. You don't see the drawer unless its open... so this didn't bother me.
for the front of the drawer I used more of that same 1-by material so that it looked the same as the rest of the framework. the drawer sub-front (if that's what you call it) had a dado 1/4" wide 1/4" up from the bottom to receive the bottom of the drawer. the sides had the same dado, and also one running vertically near the back of the drawer to receive the back. the back was just a full size piece of plywood with no dado. sides and back are all glued and the bottom is just slipped in loose, and nailed into the bottom of the back piece. Not real sure why I put it together this way. I've seen it this way, so I tried it. Its certainly faster and easier than trying to fit it all together at once.
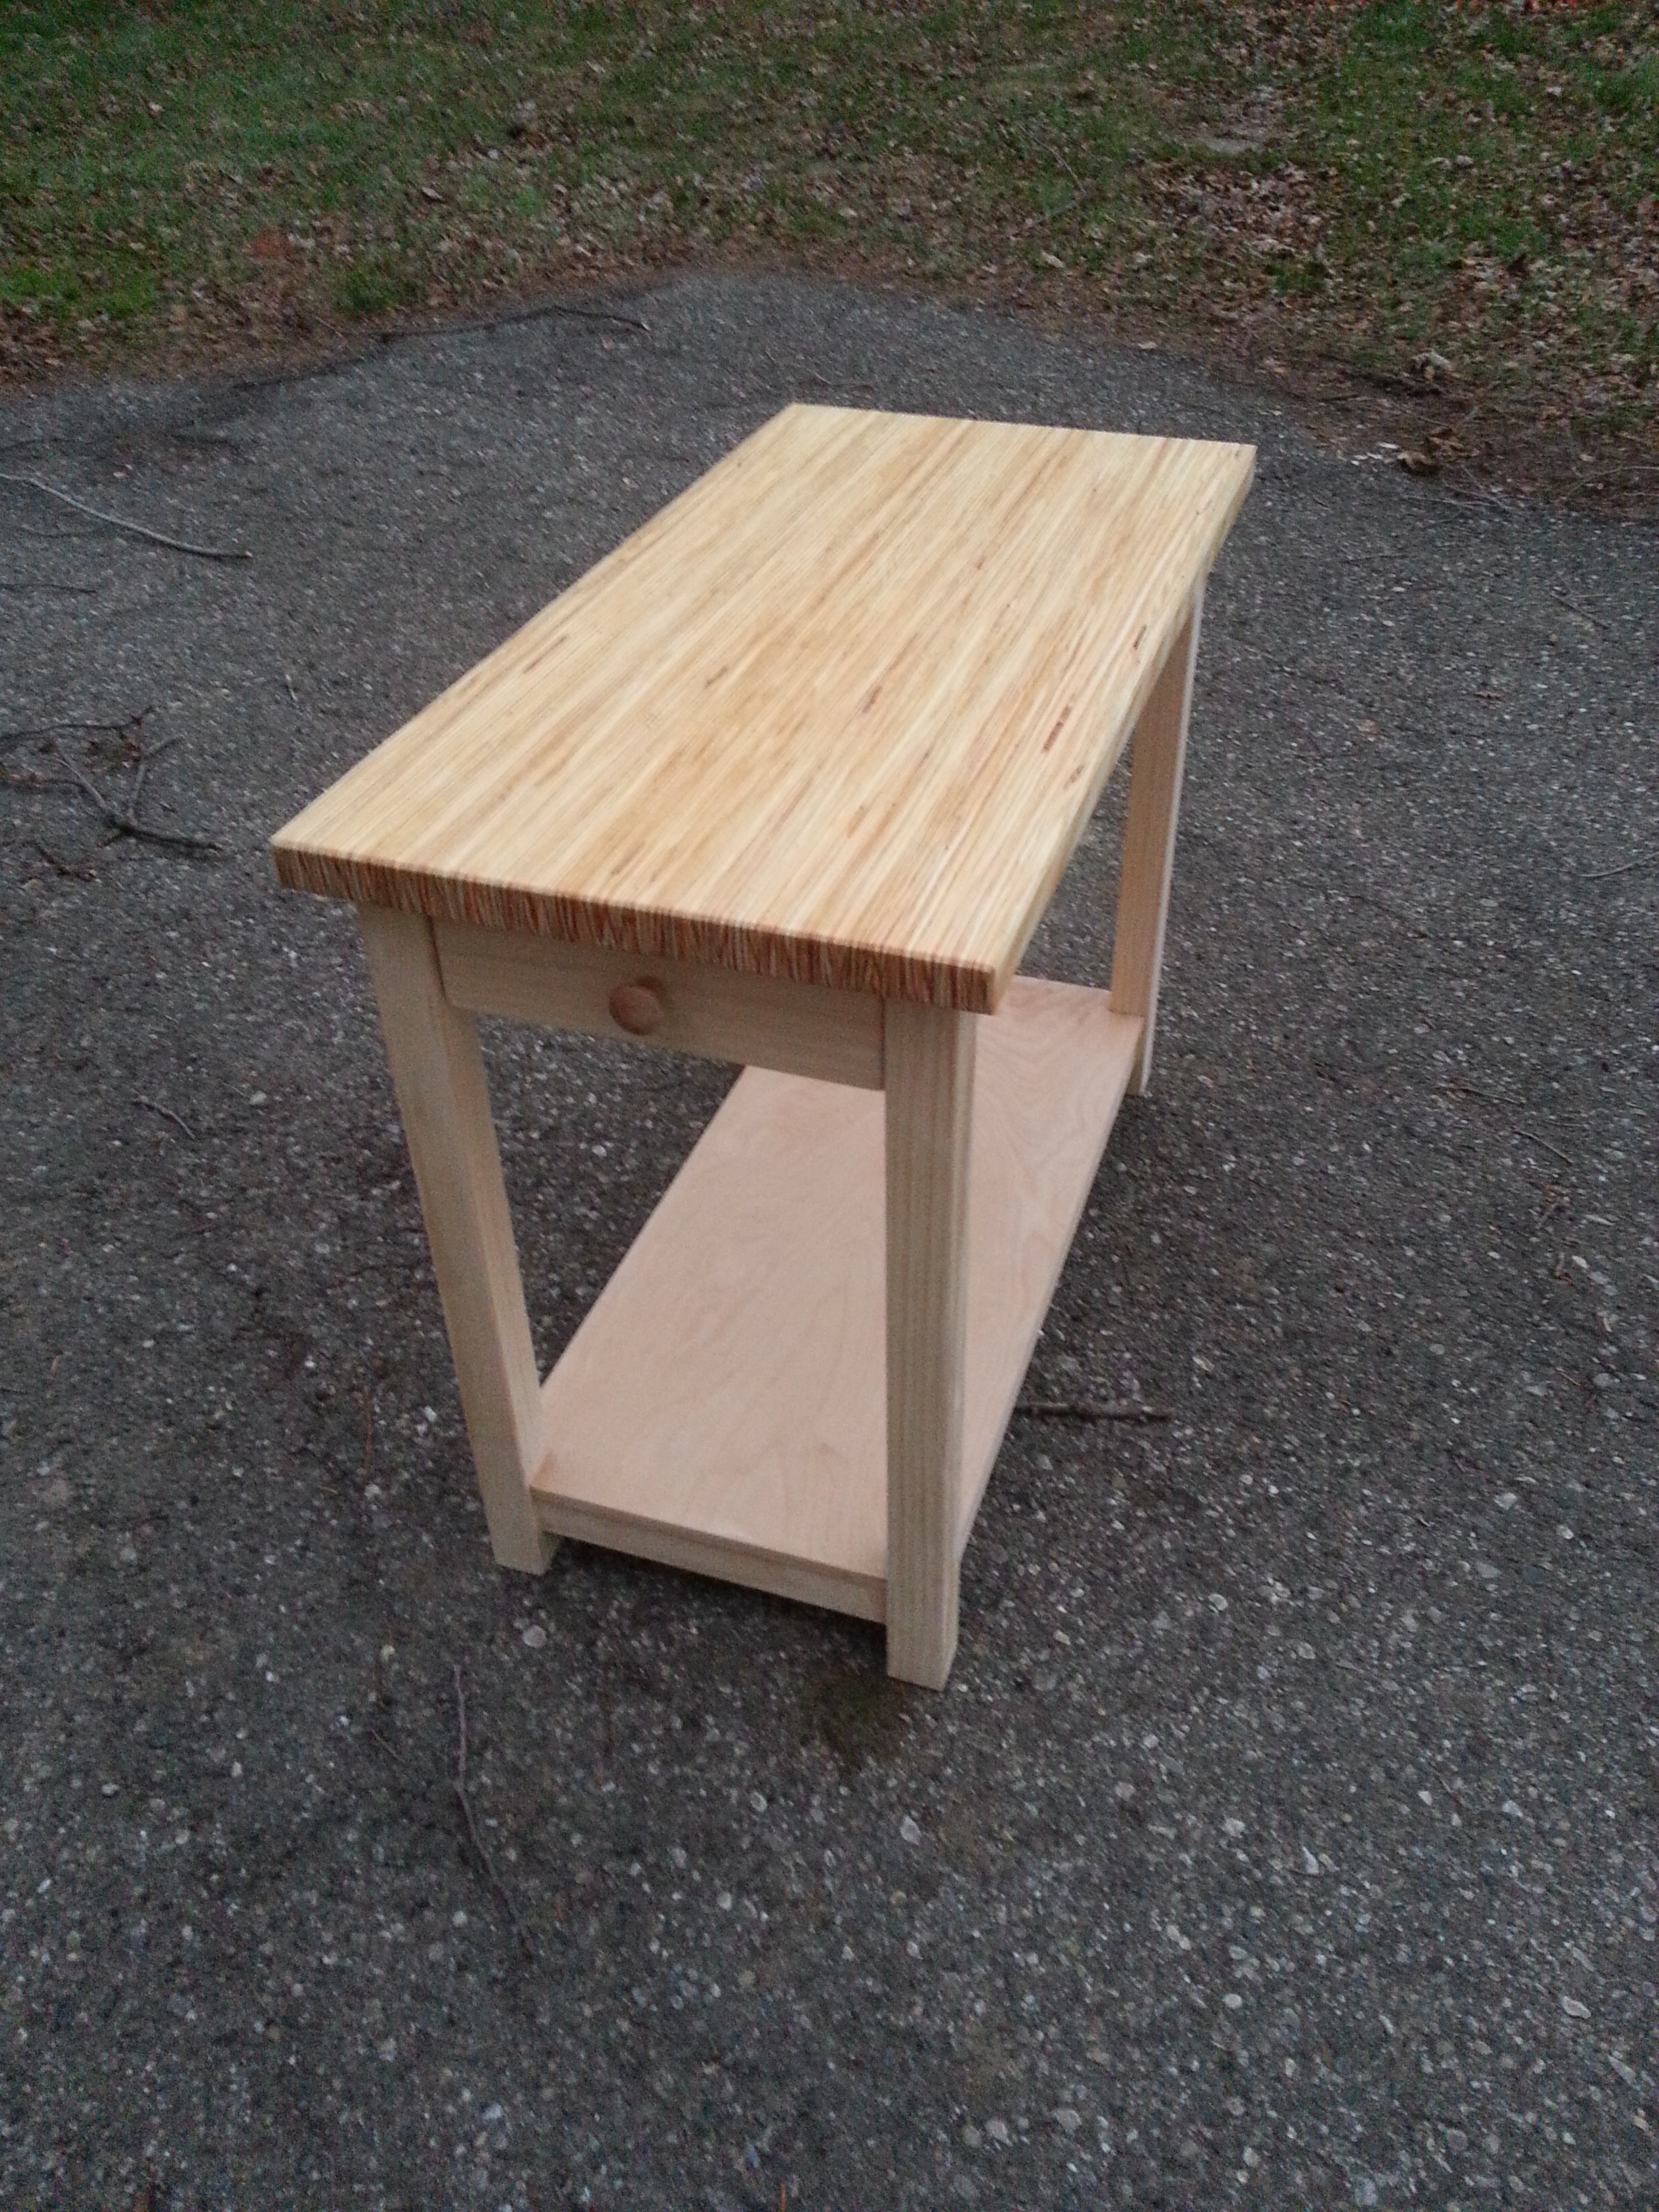
Before I attached the 1-by front, I drilled and added some screws to make sure the "sub front" didn't come loose later, from pulling the drawer open. I knew the 1-by would cover these screws so... "might as well" I installed the drawer slides via their instructions, placed the drawer in. I then centered the 1-by, carefully pulled out the drawer and screwed them together from the inside. I then drilled a hole in the center of the drawer and added the knob.
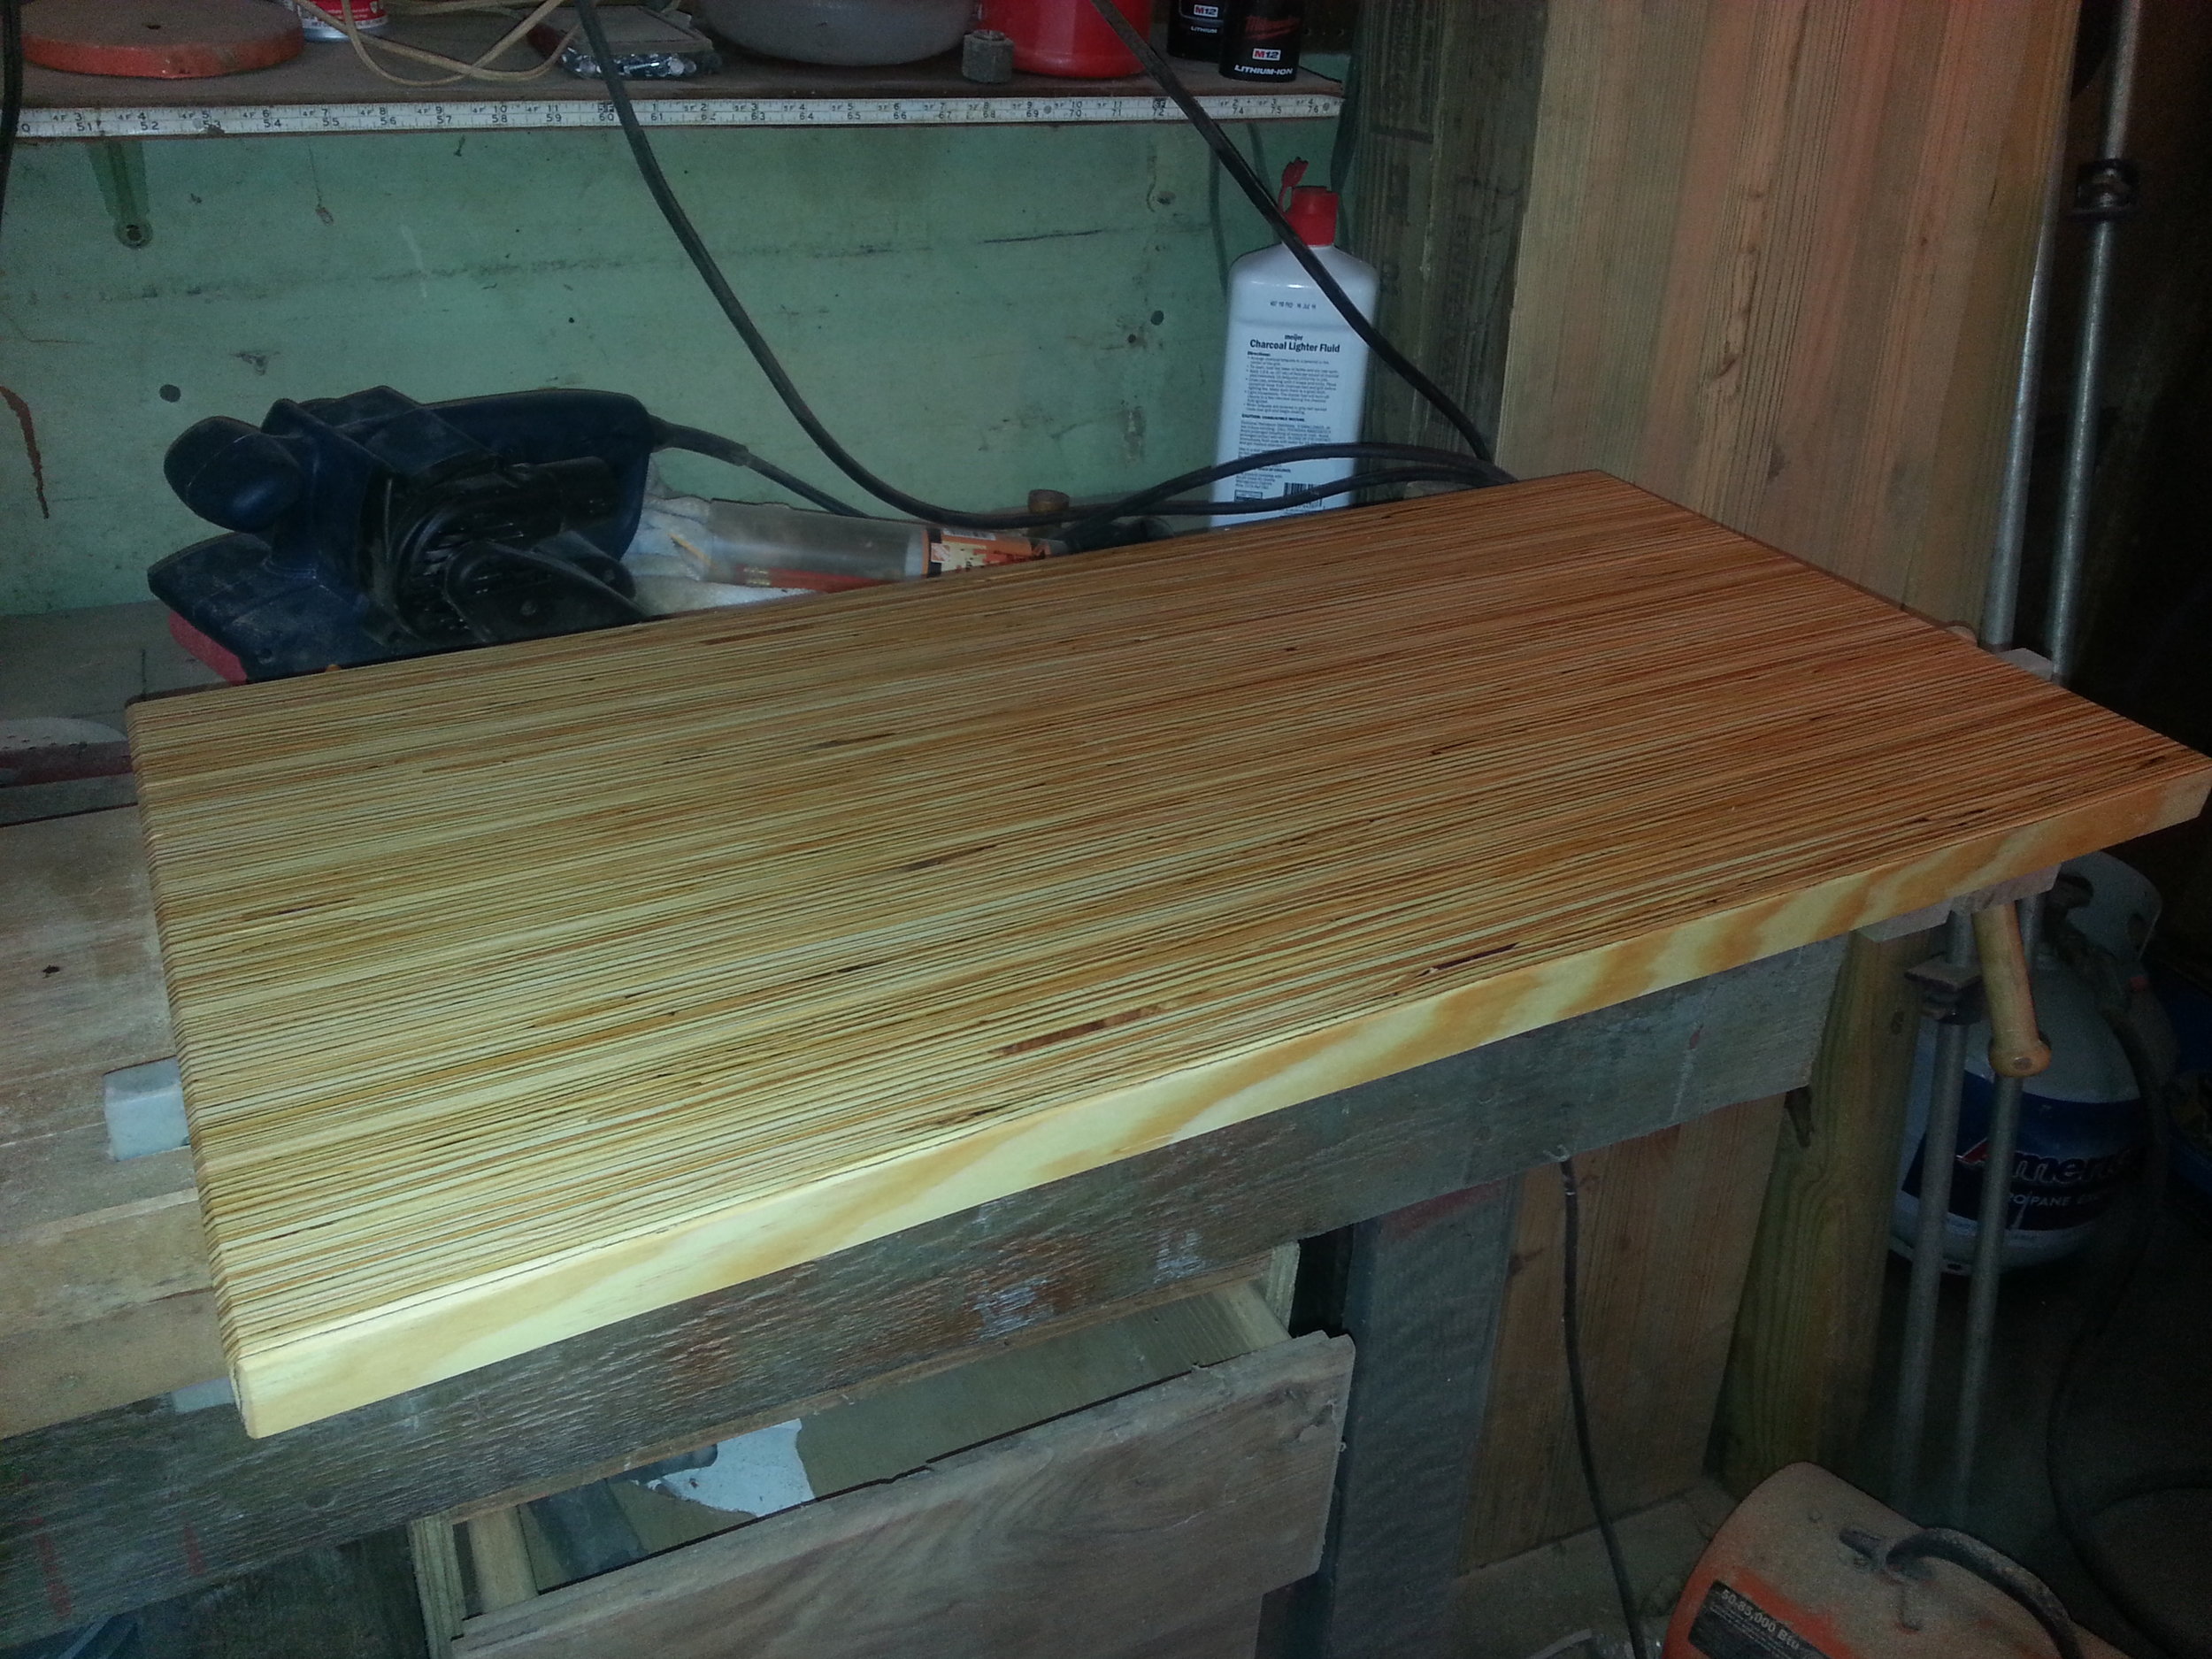
I used some butcher block oil on the top just to give it a little darker color before I added a couple coats of water-based polyurethane brushed on, sanding with 320 between coats.
I would have finished the whole thing with oil based poly for the yellowing color it gives... i just happened to be out of it, and didn't want the run up to the store.
I brought this in to Mary I set it down where her old one was next to her desk. When I seen Bob later that day looking at it, I yelled from my seat, "Pretty nice eh Bob? Maybe you should try to take this one too? Maybe we could see how that goes for ya?"
Office Drama!